
As SwiftUI continues to gain popularity, developers are looking for efficient ways to manage data within their apps. CoreData, Apple’s powerful persistence framework, seamlessly integrates with SwiftUI, providing a robust solution for data storage. In this article, we will explore how to use CoreData in SwiftUI with practical examples, demonstrating its simplicity and effectiveness.
Getting Started:
To begin, let’s create a new SwiftUI project with CoreData enabled. Xcode’s built-in template makes this process seamless. Select the “Use CoreData” option, and Xcode will generate the necessary files, including the Data Model, and set up the CoreData stack for you.
Defining the Data Model:
The Data Model represents the structure of your data in CoreData. Using Xcode’s visual editor, you can define entities, attributes, and relationships. Let’s assume we are building a simple note-taking app. Our Data Model might include an entity called “Note” with attributes like “title” and “content.”
Fetching Data:
Fetching data from CoreData in SwiftUI is straightforward. We can utilize the `@FetchRequest` property wrapper to fetch data directly from the CoreData stack and bind it to our SwiftUI views. Let’s see an example:
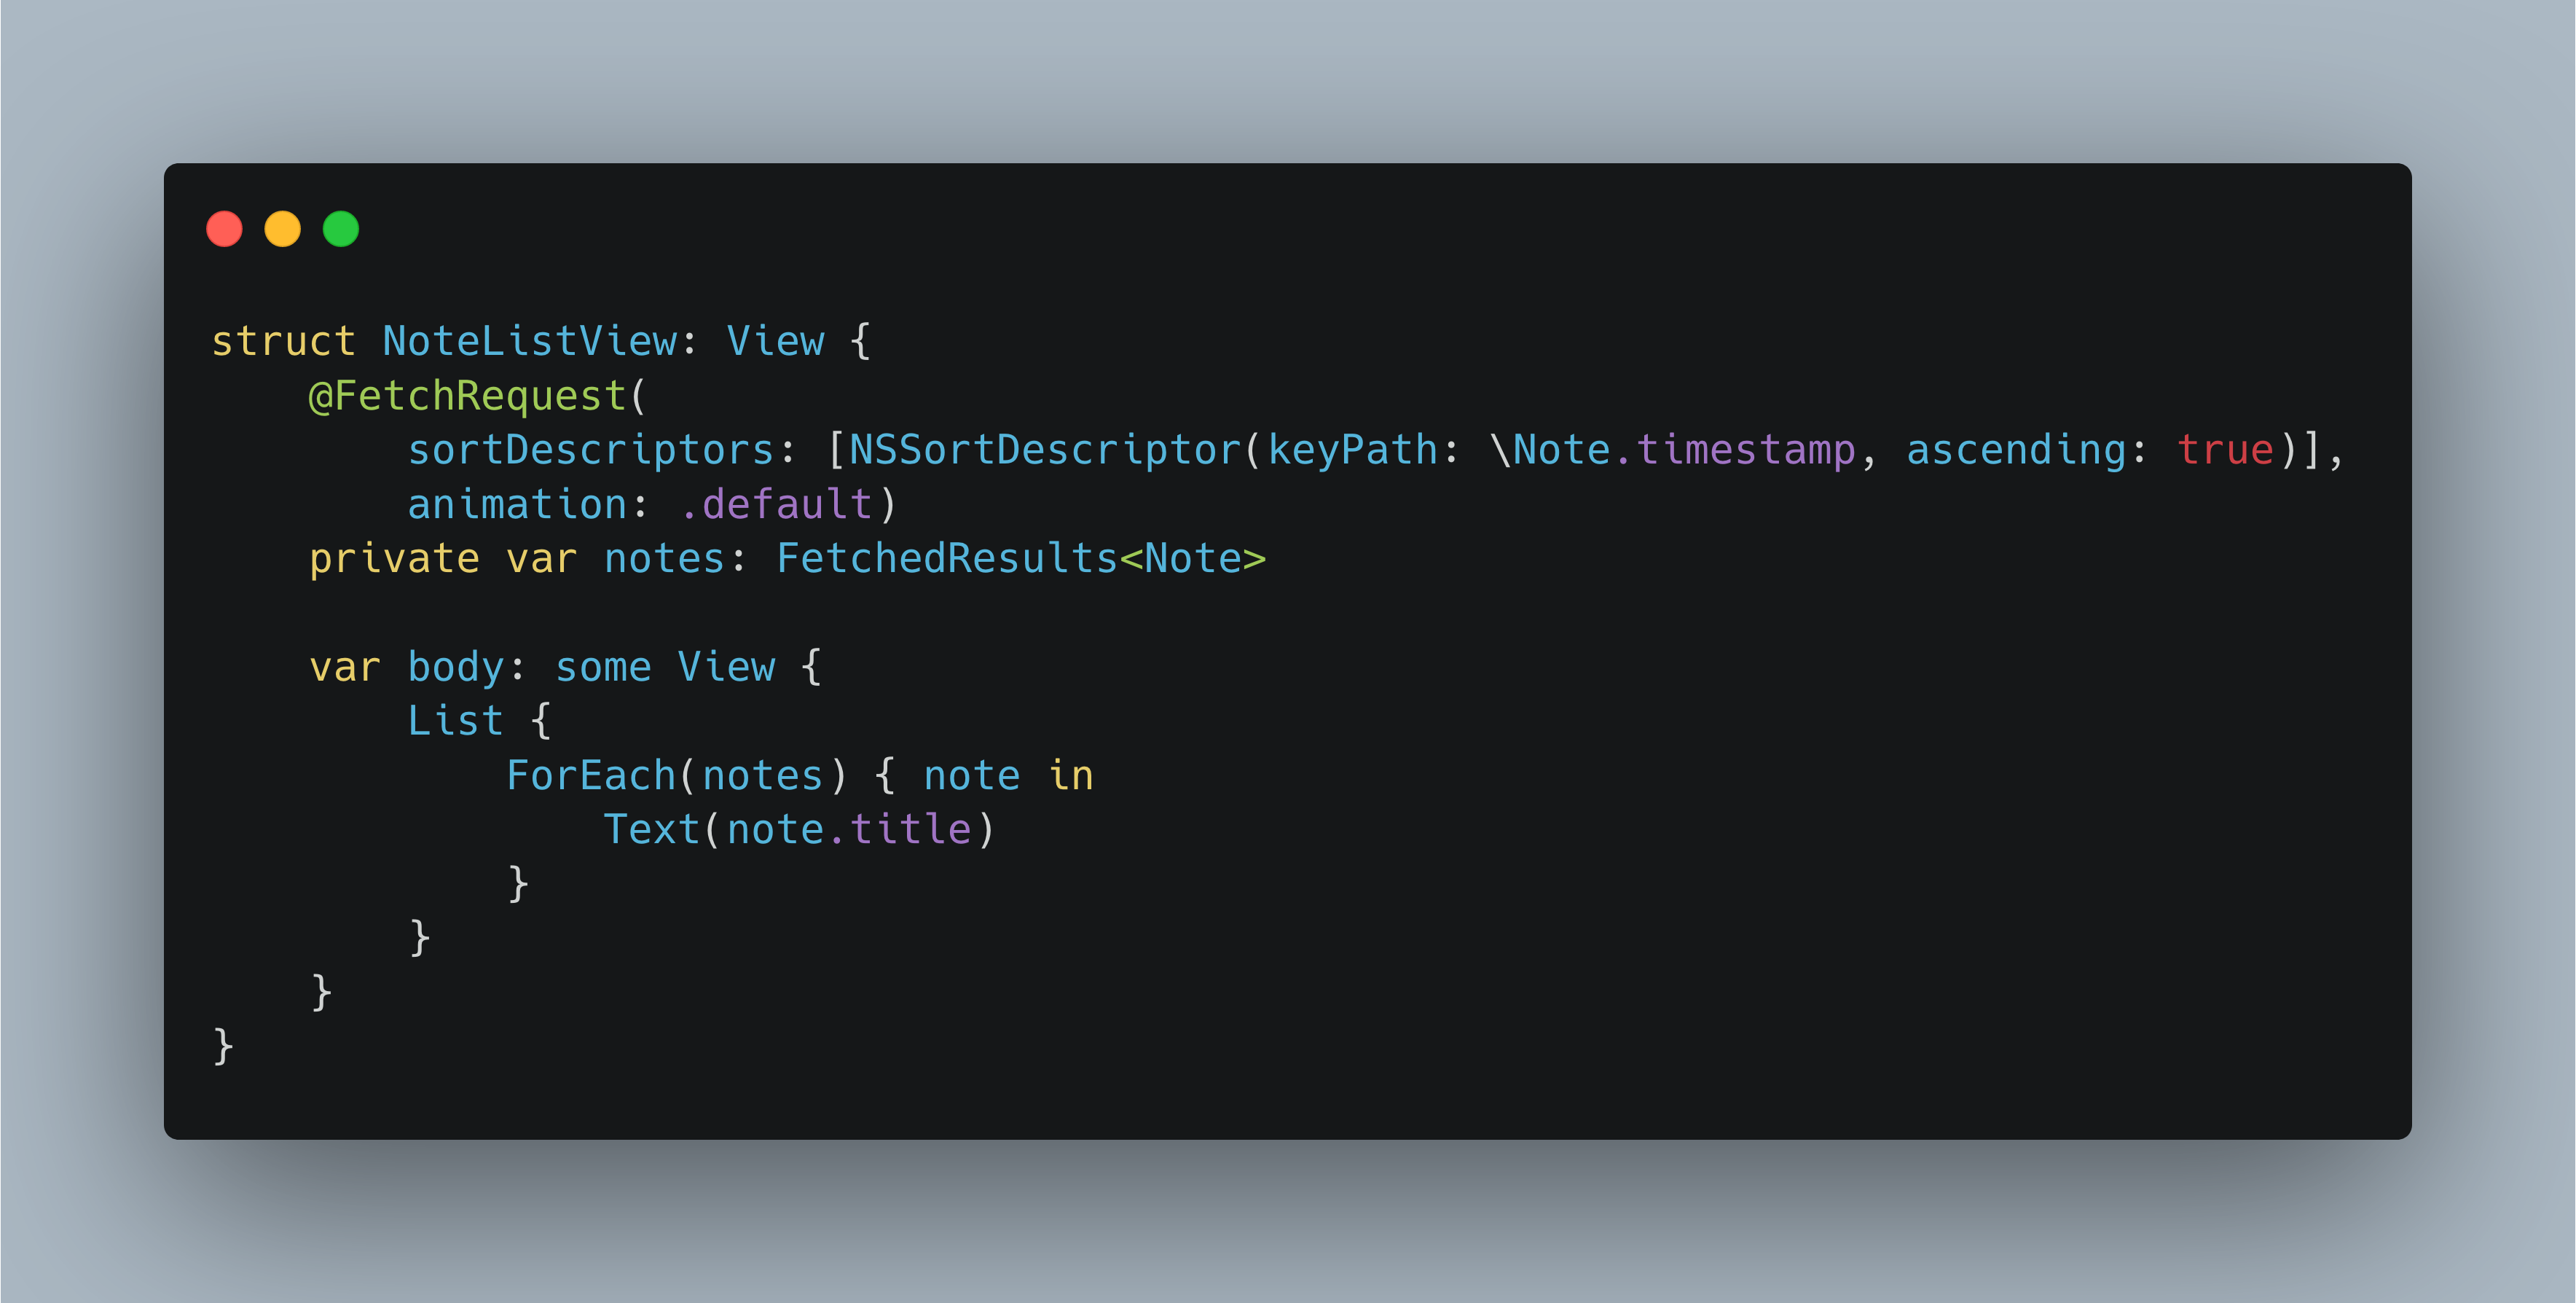
struct NoteListView: View {
    @FetchRequest(
        sortDescriptors: [NSSortDescriptor(keyPath: \Note.timestamp, ascending: true)],
        animation: .default)
    private var notes: FetchedResults

    var body: some View {
        List {
            ForEach(notes) { note in
                Text(note.title)
            }
        }
    }
}
In this example, we use the `@FetchRequest` property wrapper to fetch all the notes from CoreData. The `sortDescriptors` parameter allows us to specify the sorting order, in this case, by the “timestamp” attribute. SwiftUI automatically updates the view whenever the data changes, ensuring a reactive and up-to-date UI.
Performing CRUD Operations:
CoreData provides a rich set of APIs to perform CRUD operations on your data. Let’s explore some examples:
1. Creating a new note:
let newNote = Note(context: viewContext)
newNote.title = "New Note"
newNote.content = "This is a new note."
newNote.timestamp = Date()

do {
    try viewContext.save()
} catch {
    // Handle the error
}
2. Updating a note:
let noteToUpdate = notes[0]
noteToUpdate.title = "Updated Note"

do {
    try viewContext.save()
} catch {
    // Handle the error
}
3. Deleting a note:
let noteToDelete = notes[0]
viewContext.delete(noteToDelete)

do {
    try viewContext.save()
} catch {
    // Handle the error
}
Conclusion:
By combining CoreData with SwiftUI, developers can leverage the power of a robust and flexible data storage solution. In this article, we explored the basics of using CoreData in SwiftUI, including setting up the CoreData stack, defining the Data Model, fetching data with `@FetchRequest`, and performing CRUD operations. With these examples, you can confidently integrate CoreData into your SwiftUI projects and build dynamic and data-driven applications.
Remember to consult the official documentation for more advanced topics and explore different ways to optimize and enhance your CoreData implementation. Happy coding with CoreData and SwiftUI!
Here are the steps to create a sample Xcode project with CoreData and SwiftUI:
-
Open Xcode and select “Create a new Xcode project.”
-
Choose the “App” template and click “Next.”
-
Enter a product name for your project, select the desired organization identifier, and choose the SwiftUI interface option. Click “Next.”
-
Specify the project’s location and click “Create.”
-
In the project navigator, select the project’s root directory and go to the “Signing & Capabilities” tab. Enable the “Enable Data Protection” capability.
-
In the project navigator, select the project’s root directory again and go to the “Swift Packages” tab. Click the “+” button to add a package dependency.
-
Search for “CoreData” and select the “CoreData” package offered by Apple. Click “Next” and then “Finish” to add the package to your project.
-
In the project navigator, select the project’s root directory and go to the “File” menu. Select “New” > “File” (or use the keyboard shortcut Command+N).
-
Choose the “Data Model” template and click “Next.”
-
Enter a name for your data model (e.g., “Notes”) and click “Create.”
-
In the Core Data model editor, you can define entities, attributes, and relationships for your data model. For example, you can create an entity called “Note” with attributes like “title” and “content.”
-
In the project navigator, select the project’s root directory again and go to the “File” menu. Select “New” > “Swift File” (or use the keyboard shortcut Command+N).
-
Create a new SwiftUI view or modify the existing ContentView.swift file to include your CoreData integration code. For example, you can add code to fetch and display notes from the CoreData store.
-
Build and run your project to see your SwiftUI app with CoreData integration in action.
Please note that these steps provide a general overview of how to create a CoreData-enabled SwiftUI project, and you may need to customize and further enhance the project based on your specific requirements.